Deploy Havoc with Digital Ocean Droplets 2025
This is a complete tutorial on how to install Havoc C2 on Digital Ocean Droplets.
Note that this is my way of doing it, and it may not work in every case.
Important note: VPS requires payment, so money does speak. Digital Ocean offers 3 payment methods: Card (I think only debit card is accepted), Alipay, and PayPal.
Setup a Digital Ocean Droplet (VPS)
A Droplet is Digital Ocean's term for a VPS, in case you were wondering.
Assuming you already have an account, just follow these steps:
- Click Create->Droplet

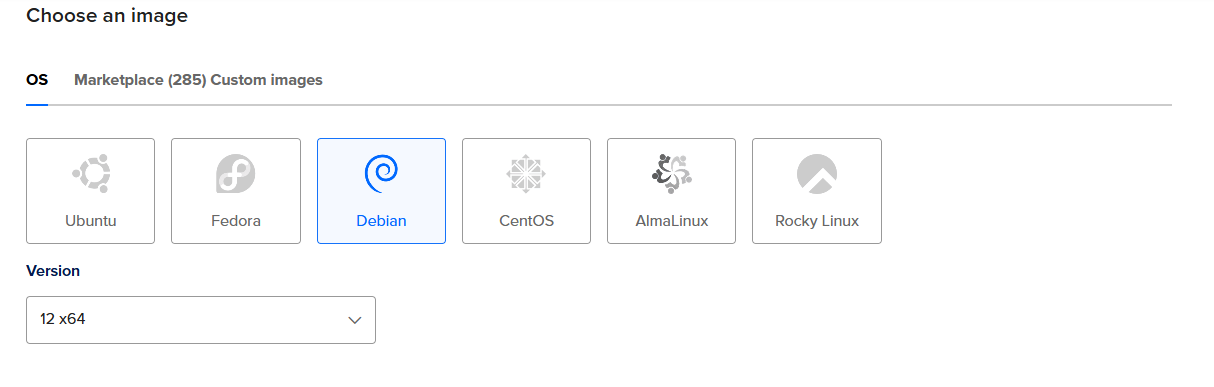
- Choose your image. I chose Debian 12
for absolutely no reasonsince it was considered to have better performance with lower hardware requirements. You can choose Ubuntu if you want.
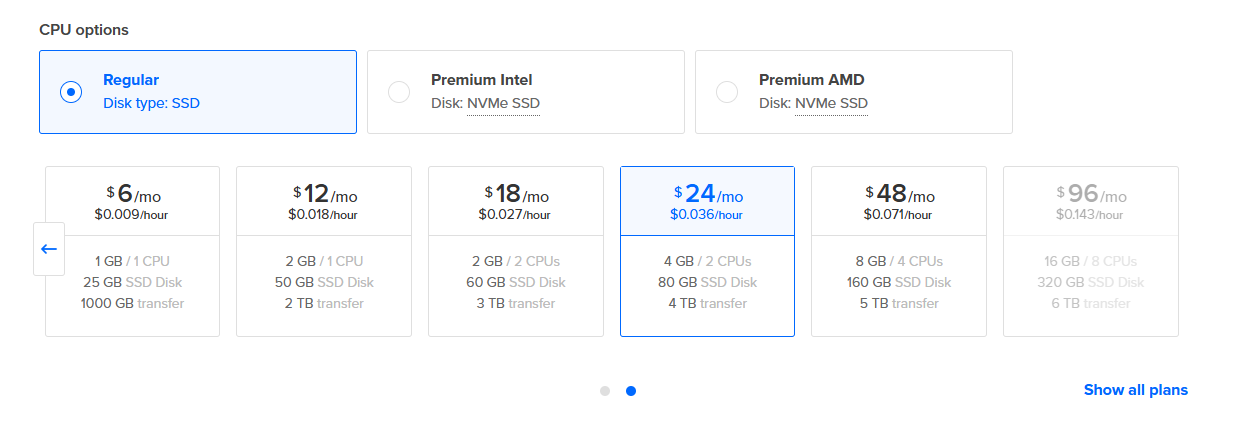
- Choose your plan. Make sure to choose the one with 4GB RAM or more since I tried 2GB and got errors while building the client. Basically, 2GB is not enough anymore to build the Havoc Client. I hate it when it doubles the price and I am not rich (I have to write blogs for a living lol) but it is what it is.
- Choose the droplet region. Choose the one that close to you.

- Create your authentication methods. There are 2 options: SSH keys or Passwords, choose what you like.
Installing Havoc C2
After the VPS is up, you can SSH to it and start the installation.
I followed this guide: https://havocframework.com/docs/installation
Basically, you need to build team server and client server. The one that need to be installed on VPS is the team server

Run the team server and if it runs then it is good to go.
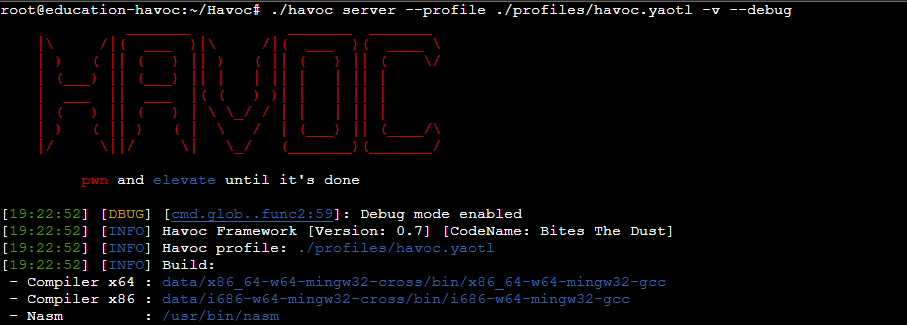 That is pretty much of it.
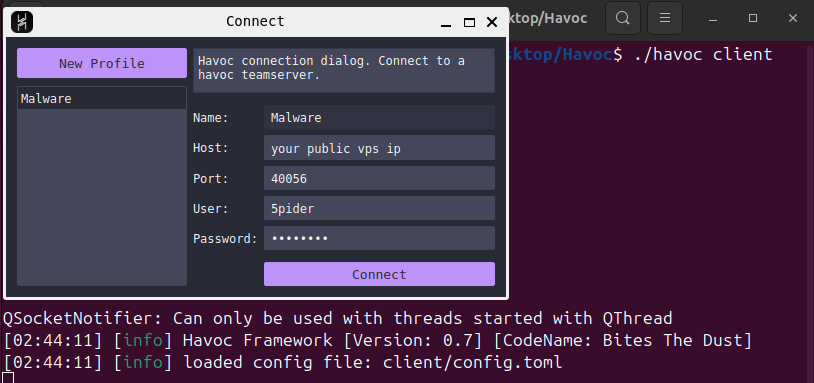
Next is the client server. I installed the server on Ubuntu but any Linux distribution should be able to install it too.
Make sure the team server is running on the VPS. Only then you run the client server and connect to the team server.
Errors
Unable to locate package python3.10-dev
I do not know the cause, so I just skipped this.
The installation still works fine though.
invalid go version '1.21.0': must match format 1.23
 This error is kinda weird.
All you need to do is change the line go 1.21.0 in Havoc/teamserver/go.mod file

go: module github.com/ugorji/go: not a known dependency
Run go mod download github.com/ugorji/go/codec instead.
https://github.com/HavocFramework/Havoc/issues/516#issuecomment-2489157015
/marshaler.go:11:2: package slices is not in GOROOT (/usr/lib/go-1.19/src/slices)
After searching through the Internet and Stack Overflow, they tell me to update the Go version since the slices package was added in go 1.21
First check the current version by go version
Then use sudo apt install golang-1.21
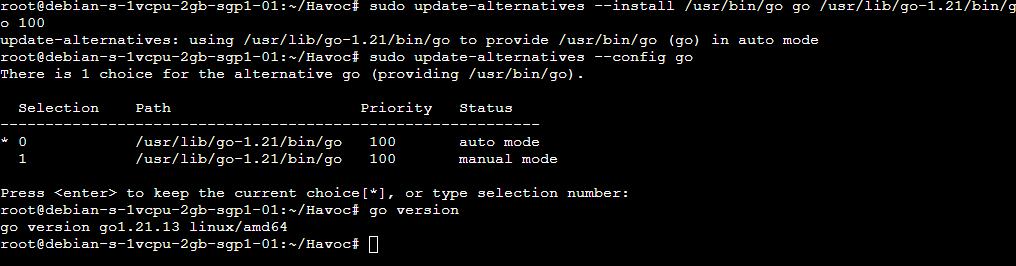
The installed Go will be located at /usr/lib/go-1.21/bin/go but the system still uses the old /usr/lib/go-1.19/bin/go
To change to the new one, run sudo update-alternatives --install /usr/bin/go go /usr/lib/go-1.21/bin/go 100. This will set the go command to use the newly installed version.
Check again, it should be 1.21 now.
go: updates to go.mod needed; to update it: go mod tidy
Right after the prior error, I encountered this.
Now just cd Havoc/teamserver/ and run go mod tidy. It will download several GitHub files and there should be no more errors while building the teamserver.
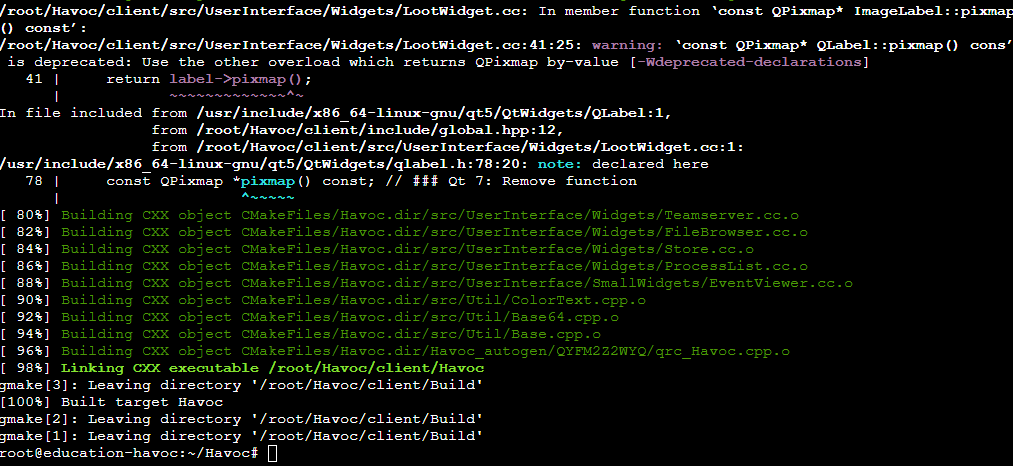
c++: fatal error: Killed signal terminated program cc1plus
This error may occur if you do not listen to me and choose 2GB RAM, and maybe waste 30 minutes of your life (told you).
make client-build needs just a little bit more than 2GB (51.1% of 4GB when I check the graph), so just upsize and pay more.
You only need the RAM, so when choosing which upgrade option, I recommend not to upsize the disk since it will be irreversible. Choose to upsize RAM and CPU only, run make client-build again, then downsize after that.